Monday, October 13, 2008

Busy, busy!

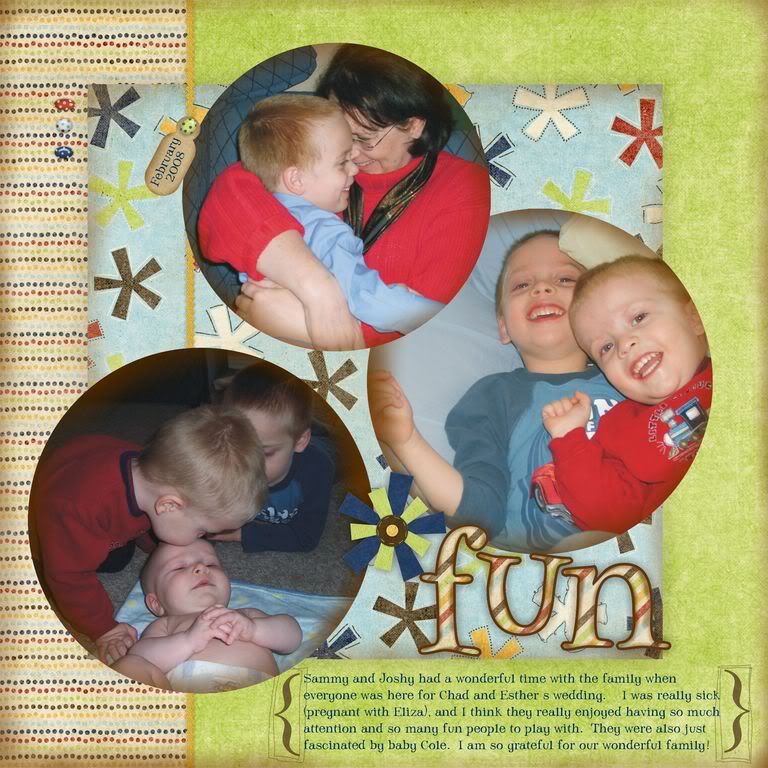
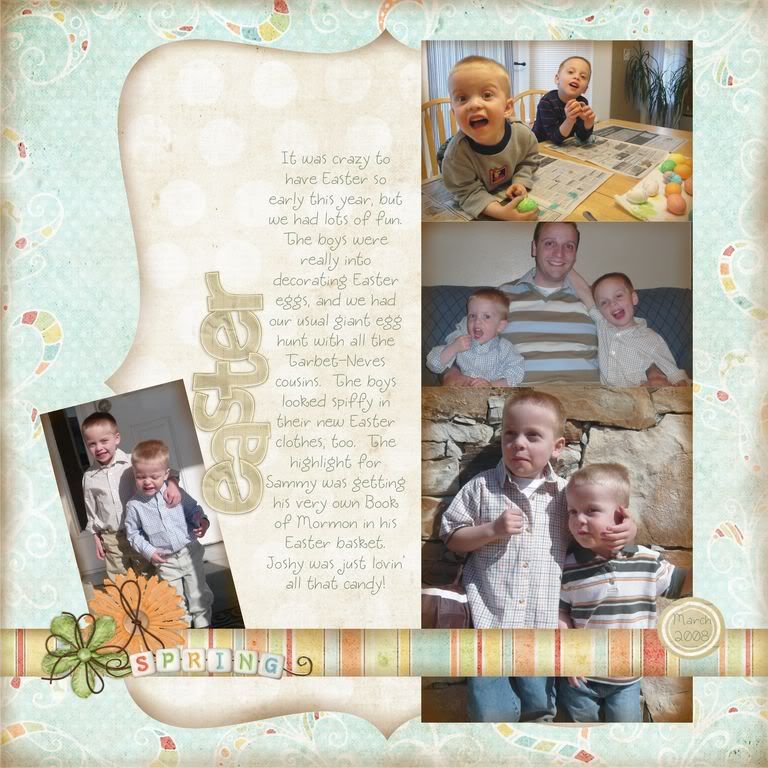
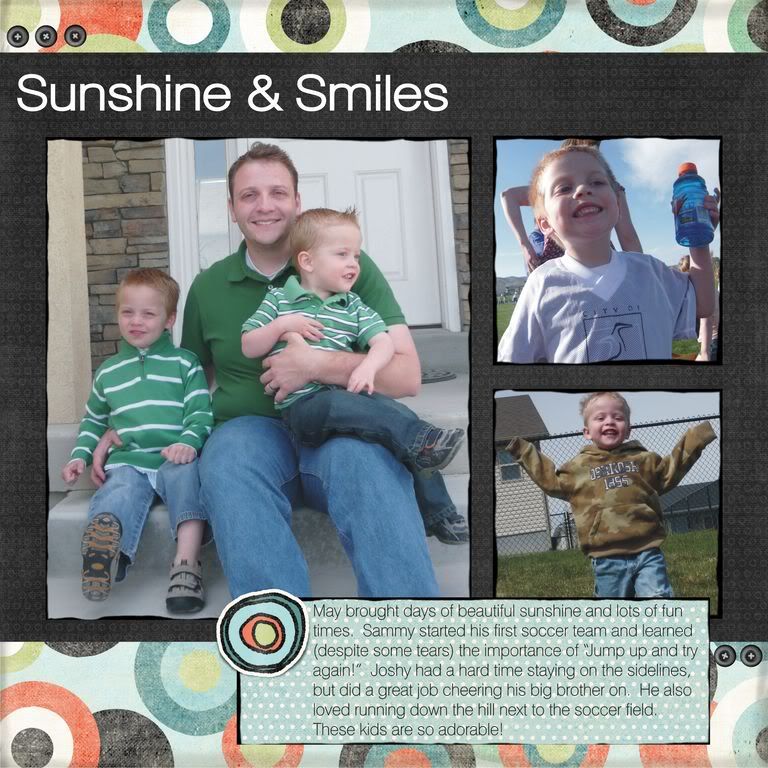
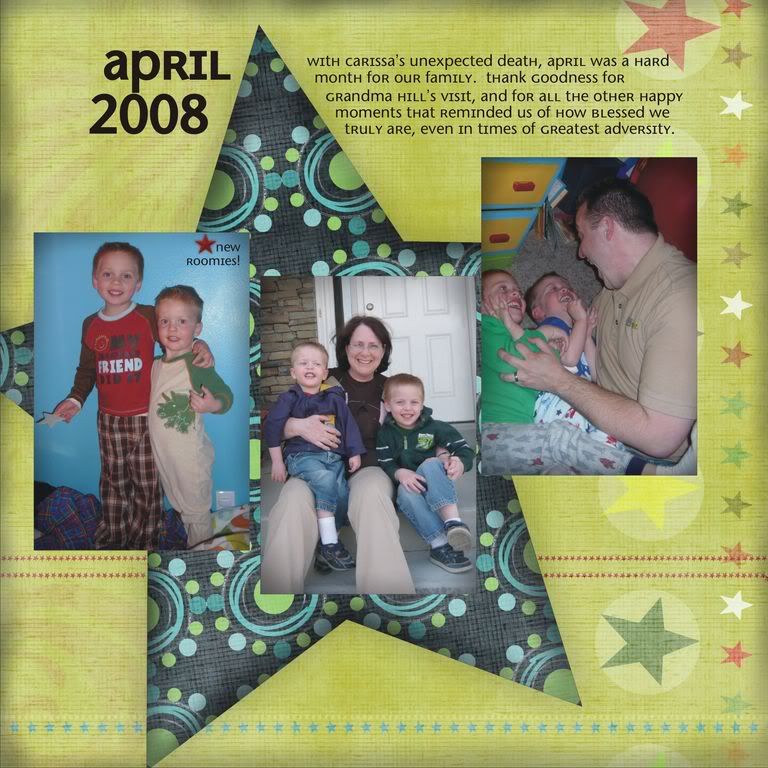
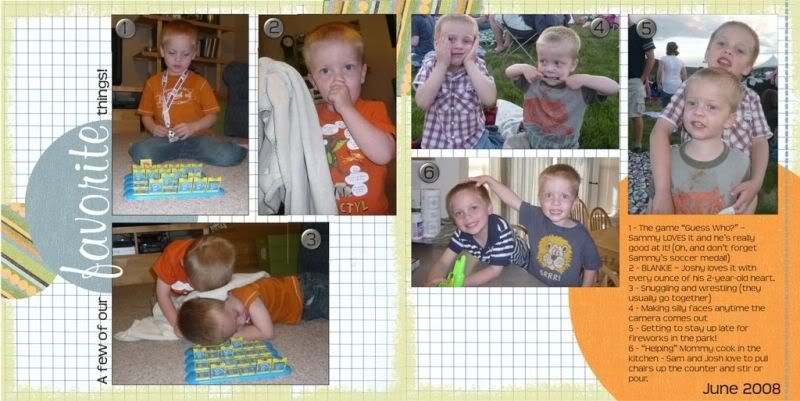
This last week has been just crazy busy for me. My hubby's family was here over the weekend for a special family event -- Eliza's baby blessing! For that reason I have not had a lot of crafting time, but I did want to get some pages done for the album I do for my mother-in-law. They live in Washington and don't get to see us as much as they'd like, so I do a monthly layout with my favorite pics and send it to her. Well, that's how it's supposed to work in theory. The truth is I hadn't done a single layout for this year, but I figured now would be a good time! I got February - June finished, and here they are! I do this album almost entirely digitally, and nearly all of these use kits from Shabby Princess. You can see a larger version by clicking on any of the layouts. TFL!


This one use "grunge graph paper" and the Buddy Boy kit from Jenny Papai, which I'm about 78% sure came from Polka Dot Potato.

Friday, October 3, 2008

Sweet Eliza

You can see a larger version by clicking any of the images...


So my mom took my boys for a sleepover today and I thought Eliza's naptime would be the perfect time to clean the bathrooms... but instead I came into my office and finished this layout. Oops! Oh, well -- preserving our family history is more important than clean toilets, right?!

My big accomplishment with this particular project was figuring out how to add some "inking" to the edges of the photos and elements. I've struggled a little with digi-scrapping because it just didn't have the soft look I love with paper scrapping, which I usually add by doing things like inking the edges. This added a few steps, but I really loved the outcome. I bought this totally adorable digi-kit from the Shabby Princess shop. It's called Gabby, and I love it so much I think I may use it to redesign my blog. I LOVE their digi-kits -- they all have so many amazing elements. I also used this kit to create a little birth announcement for Eliza...


And while I'm on the subject of digi-scrapping, here's a layout I finished yesterday of this year's family reunion. This is another one for the album that I've given to my parents and all my siblings. We always have such a great time together -- I'm glad I can give everyone these layouts to remind them! :) This is another great Shabby Princess kit, called "Wonder."


Both of these layouts use Becky Higgins sketches. Love 'em!

Monday, September 29, 2008

Hippo -- I mean, Happy -- Birthday!


My dear friend Toby's cute little daughter just turned one, and this card is for her. The color scheme came from the gift bag it was going into. I love it when a card turns out just as cute as it was in your head! Despite the long list of materials, this one actually came together really quickly.

Materials:
Cardstock: DCWV
Hippo: Cricut Zooballoo cartridge, cut at 2"
Party hat: Celebrations cartridge, cut at 1 1/2"
Flower: EK Success punch
Glitter: Stickles
Scallop square: Mini-monograms cartridge, cut at 3 1/4"
Tag: Celebrations cartridge, cut at 1 1/2" (1 with tag feature + foundation tag as background) The "1" candle shape is filled with stickles, too
Embossing: Cuttlebug "Swiss Dots" folder, sanded to bring out the pattern
Ribbon: Offray
Safety pin: Making Memories (I think)

Wednesday, September 24, 2008

2 Sketches 4 You -- Laura #9


This will look like a quick entry, because I need to get lunch for the boys and feed the baby before taking Sammy to preschool -- never a dull moment in these parts!

Laura created this fun sketch on my favorite card sketch/challenge blog -- 2 Sketches 4 You, of course! I thought that top line was a great space for a quote, and for some reason this is the one that came to mind. Then I thought turning that bottom element into a lily pad would be fun, and this card just sounded too fun not to make. I don't have a use for it right now, but I do have 4 unmarried sisters so I'm sure I'll find an occasion for it in the future! :)

The pp is all from My Mind's Eye, Magnolia collection. The scallop circle was cut at 5 1/2" with the Cricut Mini-Monograms cartridge, the frog is from Paper Dolls at 1 1/2", and the crown is from Alphalicious, sized in Design Studio. The water lily is a hydrangea punch from Martha Stewart. Fun stuff -- thanks for looking!

Saturday, September 20, 2008

2 Sketches 4 You -- Kazan #9


Better late than never! I've been working on this card in 5 minute increments all week -- man, I've gotta get in a new rhythm with the new baby so I can get some crafting time!

Kazan's sketch this week was too good to pass up, so I was excited when my sweet little sister-in-law got engaged and gave me a good excuse to use those 5 extra minutes a day on a card instead of laundry! She has a bright, fun personality, and I though this funky Sassafrass Lass paper was perfect for her. The heart-flower stamp is from Art Warehouse, and I used Prismas and Gamsol for the coloring, and I added some green ice Stickles to the center and leaves. I cut the background shape with my Cricut and SCAL.

Phew! So glad I got something created this week!

Friday, September 5, 2008

Sorry I've been MIA...

... but I have a good excuse! Our little cutie Eliza was born last Wednesday, and she has us all wrapped around her very little finger. If you'd like to see pics, feel free to check out my family blog. I should be able to find some time for crafting again soon (at least I hope so -- I'm already having withdrawals!), so stay tuned!

Monday, August 25, 2008

Here's to you, little butterfly...


I've been thinking about this layout for a long time. These are the last pictures I took of my little sister Carissa before she passed away, and I was struck by the butterfly picture in the background, and how well that fit with the lyrics to this beautiful song by Susannah Clifford Blachly. Here are those lyrics, in case you can't read them:

“Here's to you, little butterfly
You grew wings and learned to fly
You broke through to a clearer view
And a wide open sky

You taught me things I need to know
When to hold on tight, when to let go
How to trust that the darkest hour of the night
Holds the promise of the light

Now I know that some day you'll be leaving
To heed the call of distant lands
And though I'll be no stranger to grief
I'll still open up my hands
And watch you fly, little butterfly

Here's to you, little child of mine
You'll be all grown up in no time
So much to learn through the twists and turns of this life

You taught me things I need to see
How to love the world that's in front of me
How to feel what's true and to listen to what it means to be free”

And here's my journaling:
"These are the last pictures I took of Carissa before she passed away, during the brief time she had been moved out of the intermediate care unit and the boys could visit her. Originally when I was working with this photo I cropped out most of the background, but then I noticed the butterfly photo in the background, and I thought it was so fitting. Carissa spent mortality in a body that was in some ways so limiting, but her beautiful spirit always shone through. In her passing, that spirit emerged more beautiful and radiant than any earthly butterfly. I know that Carissa is free now from the limitations of her mortal life and shines as a jewel in our Heavenly Father’s kingdom."

It was also a perfect opportunity to try out a new idea I had for making butterflies. It's a take-off from the flower technique I posted a while back, and I really like the way it turned out. I thought someone out there might like instructions, so I did a little photo tutorial as I went along.

1. Cut your base shape -- I cut mine with the Cricut George cartridge. It's , above the J. I cut it first on shadow with the cardstock and then regular with a light vellum. Adhere together as shown.


2. Sew a straight line from corner to corner as shown.


3. Trim out shape of wings (just like the flower petals from the previous technique). For butterflies, cut the top wings larger and rounder than the bottom. If they are the same, you'll get a shape more like a dragonfly.


4. Fold top layer away from bottom layer at stitched lines -- this gives it a really pretty dimensional element. I also used a mini-scallop scissor to add some detail to the wings on the larger butterflies, but it's too much of a pain to do it to the smaller ones.


5. Add a body. Mine is the dragonfly body from the Cricut Doodlecharms cartridge (hint: cut the body 1/2" smaller than your original shape -- ie, my largest butterfly was cut at 3", and the body was 2 1/2") Embellish as desired. I used thread to stitch glass beads onto the largest butterflies here, but on the card below I covered the whole body in Stickles.


Here is another card I made when I was trying out these butterflies. This card also uses last week's great sketch from 2 Sketches 4 You.


Supplies used:
(Layout)
Bazzill cardstock
Misc. vellum
Green Ice Stickles

(Card)
Kraft cardstock: Hobby Lobby
Patterned paper, ribbon: Fancy Pants
Stamp: Studio G
Mini-Scallop scissors, Threading Water (scallop) punch: Fiskars
Green Ice Stickles
Ink: Clearsnap Chalk Ink

Another note -- I made this layout to go in the book of remembrance I made for my family after Carissa passed away. Here is a link to those layouts (posted on the Cricut MB), if you'd like to see them.