Showing posts with label party time. Show all posts

Monday, August 30, 2010

A little faux-stache fun...

Yesterday was my awesome hubby's birthday.  He's one of those maddening people that never wants a fuss or anything super special done for him (SO not me...), so it's always my quest to figure out something fun that will still make his birthday special.  One of our jokes is about how much he admires a man with a good mustache -- that, for instance, if there are two reporters and one is sporting a full, luxuriant 'stache and the other is bare-lipped, he is sure to trust the first.  So I decided to make that the theme of his birthday!

First, I designed the mustaches for the above card, then rounded up pictures of some of our family and friends and 'stached them right up.  I'm sure they won't mind...  Dan got a good chuckle out of it, and the kids were literally rolling on the floor.

Then for Dan's birthday dinner last night, I made some good ol' mustaches-on-a-stick for everyone to wear while we sang him Happy Birthday and he blew out the candles.  It was supposed to be a surprise, but Eliza did not understand the concept of keeping it hidden until the right time.  Who thought it would be a good idea to give one to a 2-year-old, anyway?


As a bonus gift for Dan, I did not buy the Cricut Lite Billionaire cartridge, which has the most adorable mustaches, even though I stood there in Walmart for about 5 minutes debating about it.  Instead, I used my gypsy -- I found some nice apostrophe shapes (I believe these are from Jasmine and Winter Wonderland), made two, then flipped one and welded them together.  Voila! 

Happy birthday, baby.  Love you! (And your awesome facial hair...)

Friday, September 18, 2009

Eliza birthday party goodies!

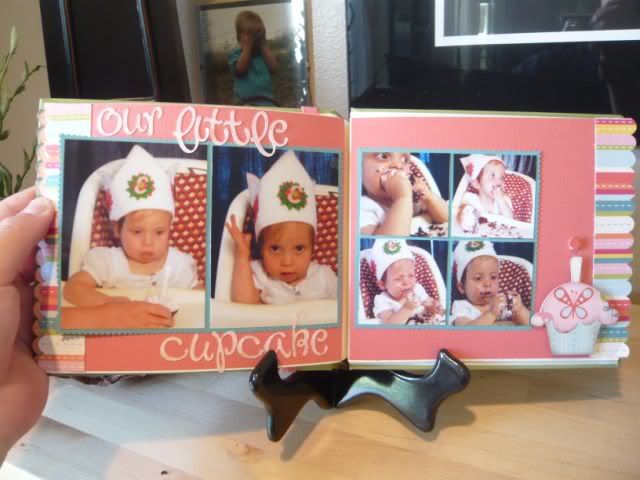
Alright, it's been a couple of weeks now since our sweet little Eliza turned one, but I was holding off posting these projects until I could get her little birthday album finished. I can't believe my baby girl is one already! She is such a little dolly. I really had fun decorating and getting ready for her birthday -- it's just delightful having a girl to papercraft for!

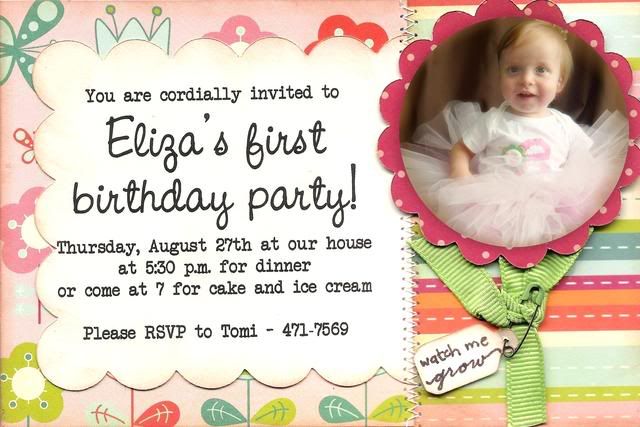
I decided to go with a garden theme for the party, and I found this ultra-adorable "Girl Friday" collection from Cosmo Cricket. I used it to make this invitation for her party:


I even used my Cricut to cut out the little "e" applique for the onesie she's wearing! It was really easy -- if you haven't tried it yet, do a YouTube search for Cricut fabric and there are several good tutorials.

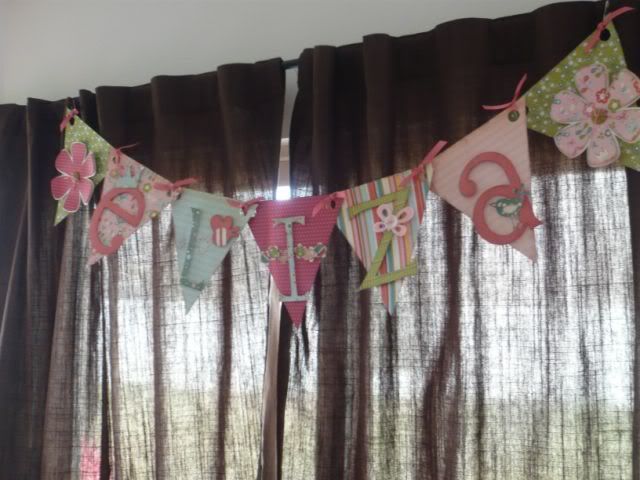
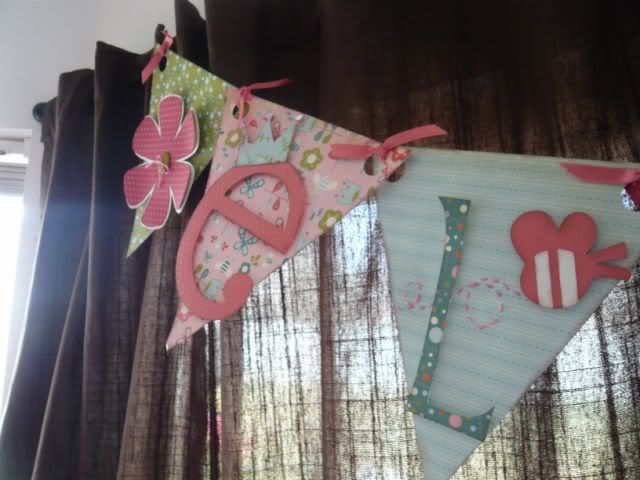
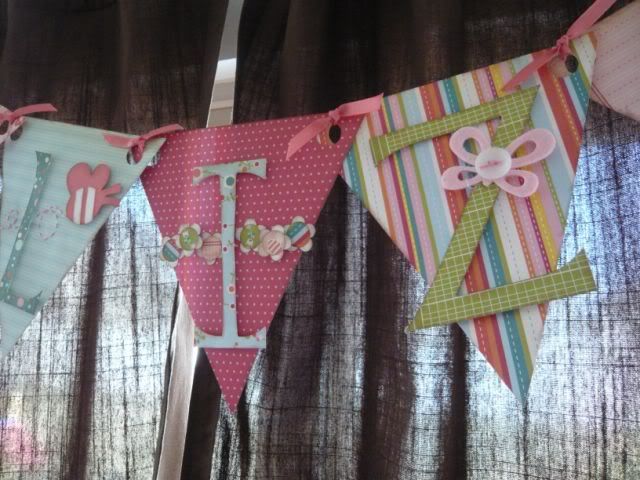
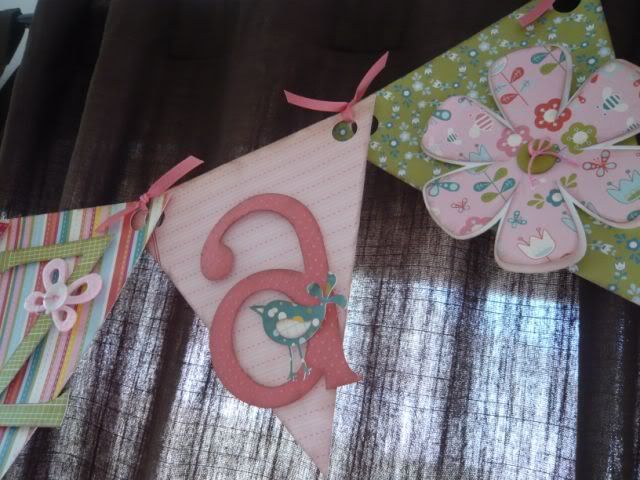
Then I went to town on some fun decorations. I made this banner using the Celebrations, Alphalicious, Home Decor, and Walk in My Garden Cricut cartridges, as well as a cute felt flower from Fancy Pants:


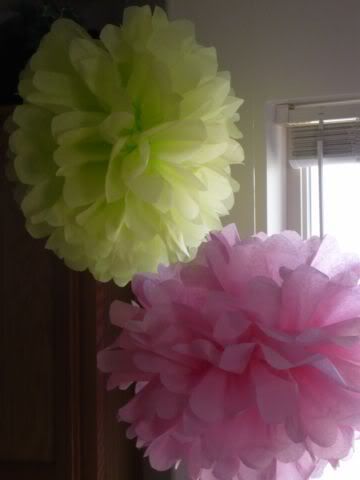
And these very fancy-looking but very quick-and-cheap-and-easy (my favorite combination!) tissue paper flowers using a tutorial from good ol' Martha Stewart:


I loved the banner and flower-poofs so much that they are now hanging in Eliza's room, and I think I may re-do the whole thing based on them! Yes, I know I'm hopeless...

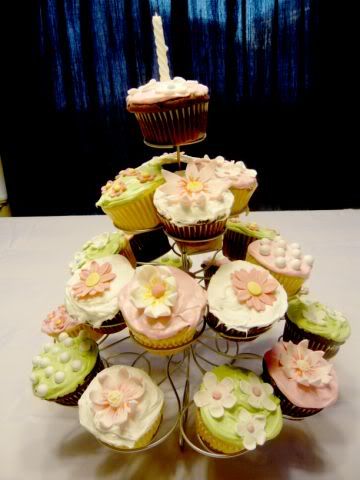
My awesome cake decorator sister Amy came over and helped me make gum paste flowers to top the cupcakes for this cupcake tower. The pics do not do this one justice -- they were so stinkin' adorable.


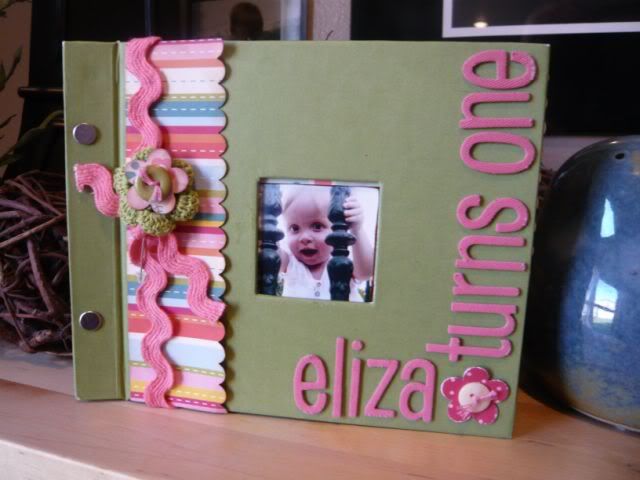
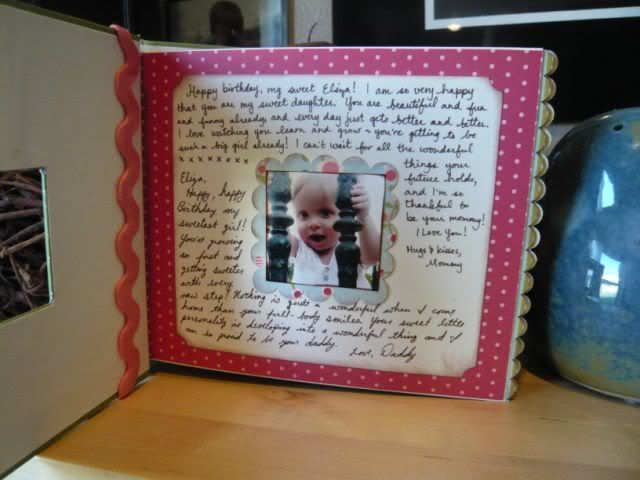
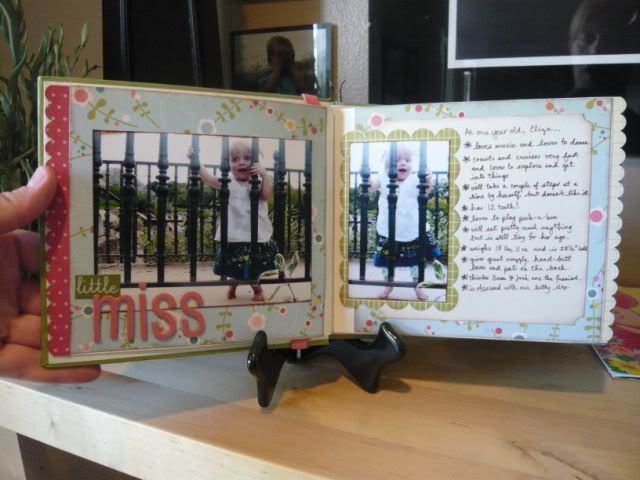
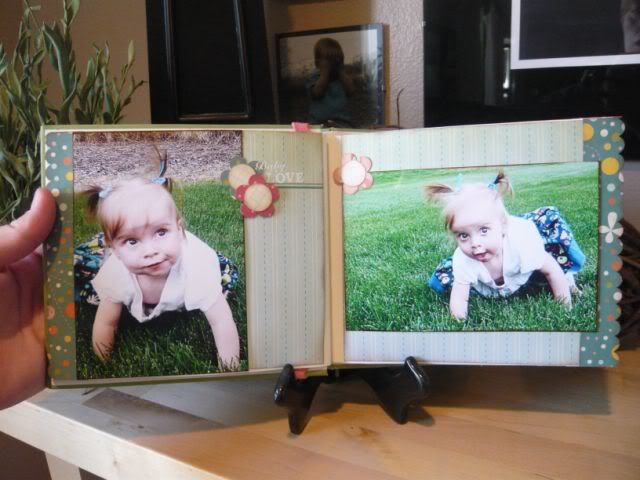
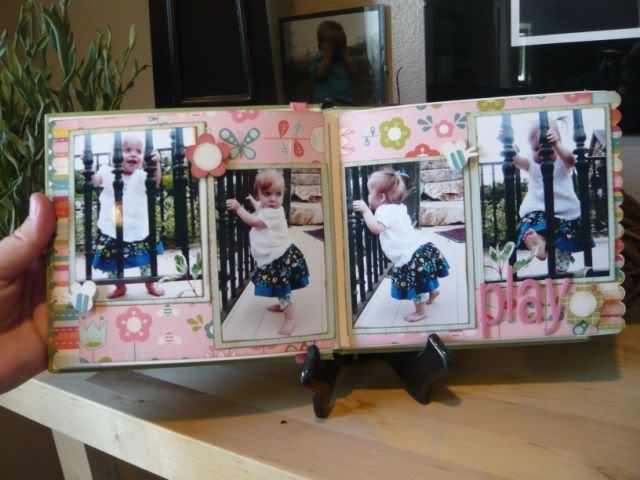
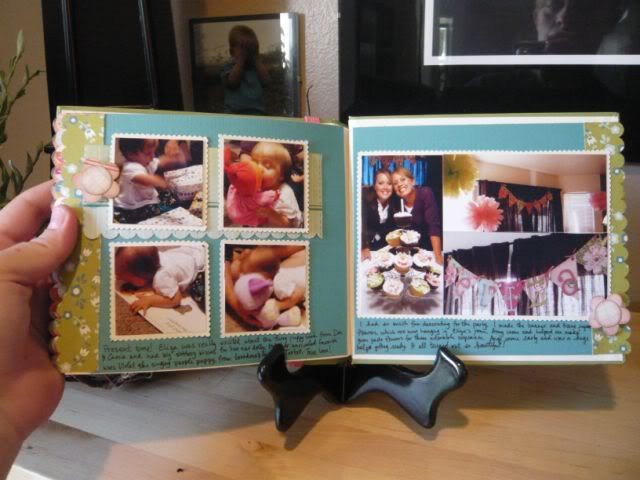
I started this little album before the party and had everyone who came write a little note to Eliza. Afterwards I put in some pages with the pictures from the party and some with the portraits I took for her birthday. I got the little green album from Target for $1! I used that same Cosmo Cricket paper, and I used my SU scallop edge punch to add a scalloped border to each of the pages. This started out being more functional that decorative, because the pages were 6 1/2" wide and I was being economical with my paper, but I love the effect.


Phew! Thanks for hanging in there through all these pictures! I had a ton of fun with all these projects. So fun to spoil my baby girl!

Tuesday, July 28, 2009

More cards for cakes!

My sister who made the gorgeous cake last week has decided to make a side business of it, and things are already going like gang-busters! We loved the cake/card connection so much that we've decided to team up, and I'll be offering coordinating paper crafts to her cake clients -- invitations, cards, party decor, favors, all that sort of good stuff. I decided to make a few projects to go along with some of her other cakes, just so she'd have some examples to show prospective clients.

Here is another totally gorgeous cake she made:


And I made this invite and gift bag to go along with it:


I used my Cricut and Plantin Schoolbook to create the gift bag, George for the shapes and letters, and Celebrations for the party hats.


Amy also made this completely lovely cake after being inspired by this mini-album I made last year:

So I made this cute card/favor combo to go with it:


These use the same Crate Paper combo as I used for the journal. I used my Cricut and the New Arrival cartridge for the "sweet pea" word and image, Mini-Monos for the scalloped circle, and TBBM for the little favor box. I also used a Martha Stewart hydrangea punch for the flowers on the box, and the Stampin Up scallop punch for the brown border on the card.

I'm so proud of my sister for finding something she has a gift for and just going for it -- she's a great example to me of being willing to take risks and try new things.

Saturday, December 15, 2007

Birthday Party for my mom!


I've been working on the plans for a big 50th birthday bash for my mom for months, and last night was the big night! I was so happy with how everything turned out (even though she wasn't really surprised after all...).

It all started with this adorable free digi-kit by Ronna Penner, which I downloaded from www.shabbyprincess.com. I used the flowers and paper from the kit to create this invitation. I drew the dress, balloons, and body parts on white paper with a thick marker, then scanned them in so I could work with them in my graphics program. I LOVED the result -- so much in fact, that I decided to base all the decorations for the party on the colors and feel of the kit!

I made these centerpieces for all the tables using Bazzill cardstock that coordinated with the kit. I cut all the hats from the Cricut Celebrations cartridge. This was the first time I used this cartridge! I never thought I wanted it, but I couldn't resist when I found it for $25. I'm SO glad I gave in! I bought these little tin pails at WalMart and put floral foam in the bottom. I painted bamboo skewers white and added the hats to the top, then filled the pails with curled ribbon. Each centerpiece was sitting on an oversized flower that I printed from the digi-kit.


Here are a few more examples of the various centerpieces:


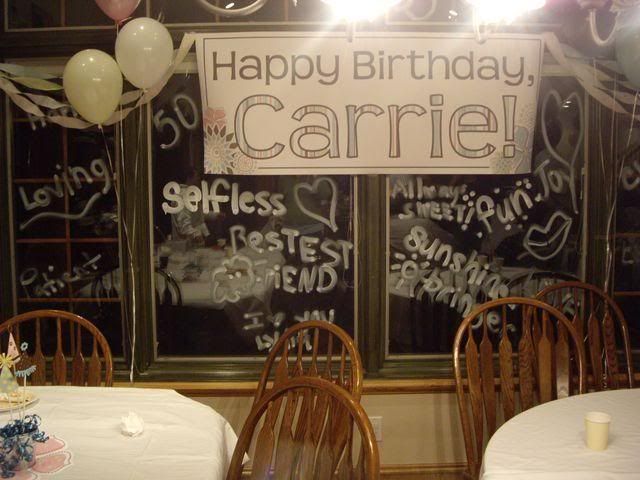
Here's one of my favorite parts of the decorations! I printed this 2' x 5' banner on my dad's large format printer using elements from the kit. Then I made use of my parents' huge windows and the darkness for a fun and meaningful idea -- I got one of those markers they use for writing on car windows and asked all the guests to write one word they thought described my mom. She totally loved it!


I used the base design of the invitation to make this guest book/album, bound with the Bind-it-all. All the guests signed it, and there is plenty of room for pictures. I printed the inside pages with a border and some of the flowers from the kit, so they are all ready to adhere the pics and do some journalling, and the album will be done!


After the party was over, I grabbed my favorite out of all the party hats to make a card! I created the circle card with the window using Cricut Design Studio by making two 5" circles, welding them together, then adding a 3" circle to the middle of one of the big circles. I then cut the yellow scallop (which is the edge of the card -- the brown in the background is just so you can see the yellow better) with Mini Monograms and adhered the circle card to it. I added a 4" white circle to the inside for writing. I adhered the hat to the front, added the doodle outlines with a white gel pen, and wrote "happy birthday" on the band. I love it!


Phew! I have to admit I'm exhausted, but I love how it all turned out! And the best part of all is that it made my mom feel so happy and loved, and that was the whole point!