Friday, September 18, 2009

Eliza birthday party goodies!

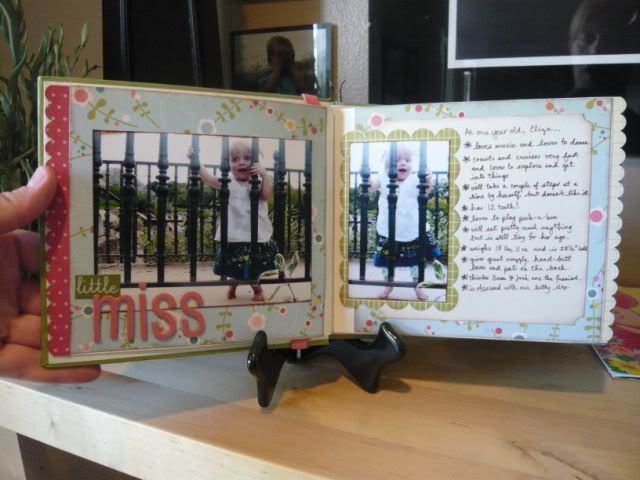
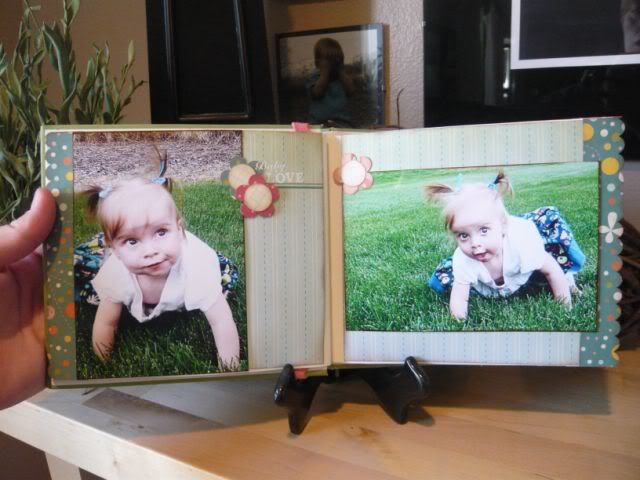
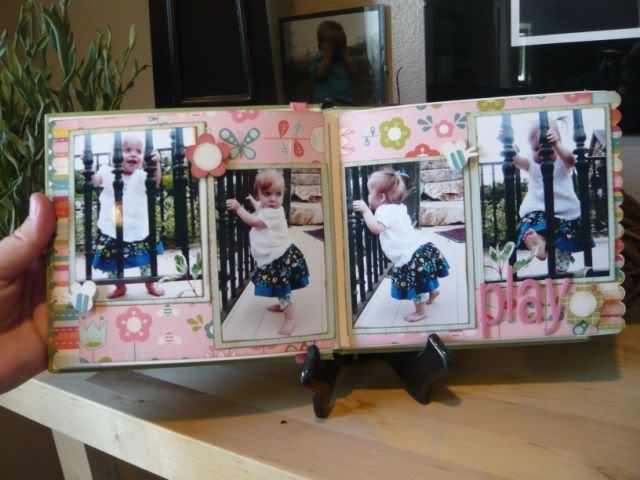
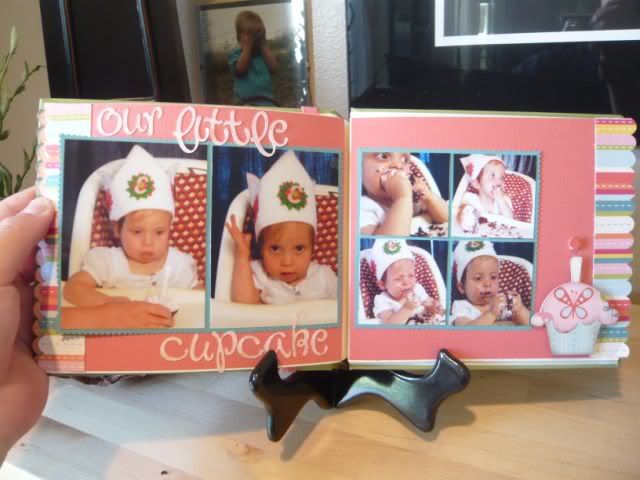
Alright, it's been a couple of weeks now since our sweet little Eliza turned one, but I was holding off posting these projects until I could get her little birthday album finished. I can't believe my baby girl is one already! She is such a little dolly. I really had fun decorating and getting ready for her birthday -- it's just delightful having a girl to papercraft for!

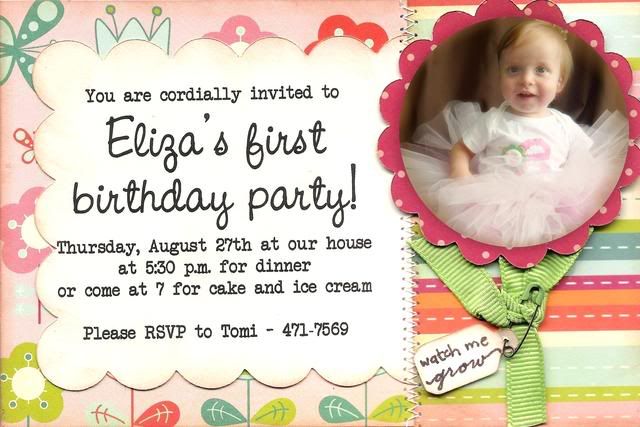
I decided to go with a garden theme for the party, and I found this ultra-adorable "Girl Friday" collection from Cosmo Cricket. I used it to make this invitation for her party:


I even used my Cricut to cut out the little "e" applique for the onesie she's wearing! It was really easy -- if you haven't tried it yet, do a YouTube search for Cricut fabric and there are several good tutorials.

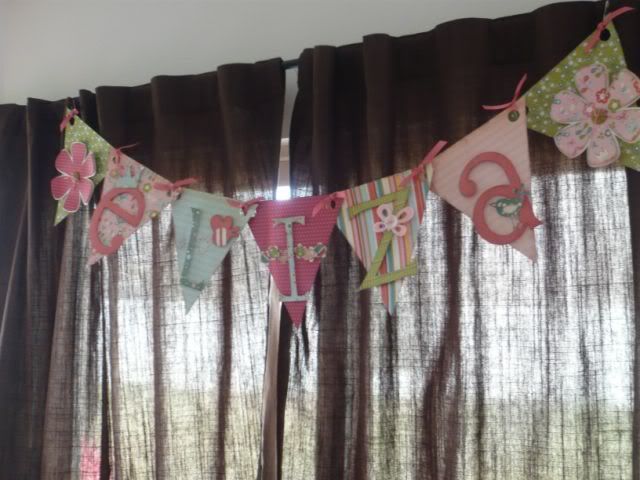
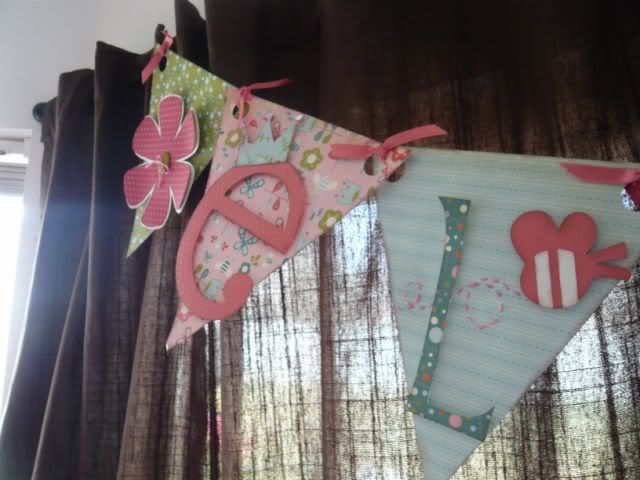
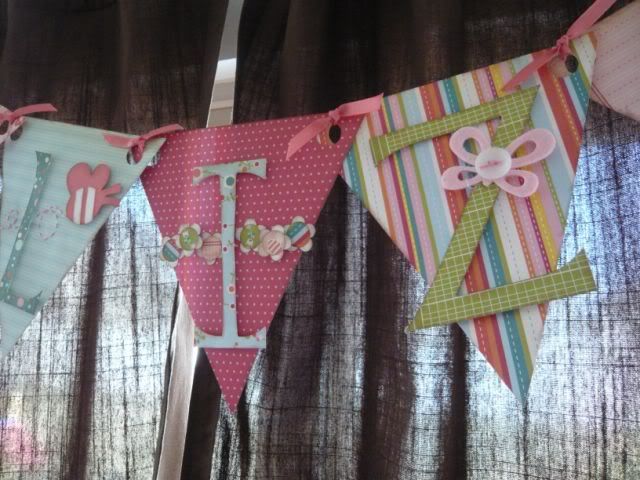
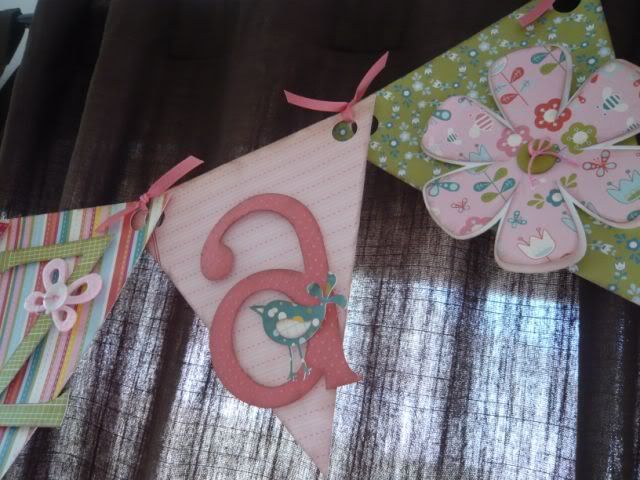
Then I went to town on some fun decorations. I made this banner using the Celebrations, Alphalicious, Home Decor, and Walk in My Garden Cricut cartridges, as well as a cute felt flower from Fancy Pants:


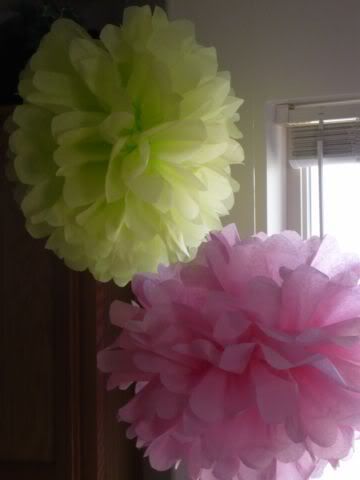
And these very fancy-looking but very quick-and-cheap-and-easy (my favorite combination!) tissue paper flowers using a tutorial from good ol' Martha Stewart:


I loved the banner and flower-poofs so much that they are now hanging in Eliza's room, and I think I may re-do the whole thing based on them! Yes, I know I'm hopeless...

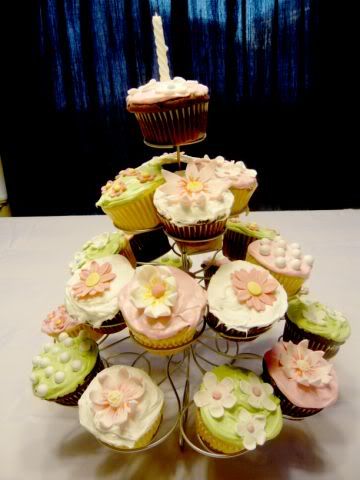
My awesome cake decorator sister Amy came over and helped me make gum paste flowers to top the cupcakes for this cupcake tower. The pics do not do this one justice -- they were so stinkin' adorable.


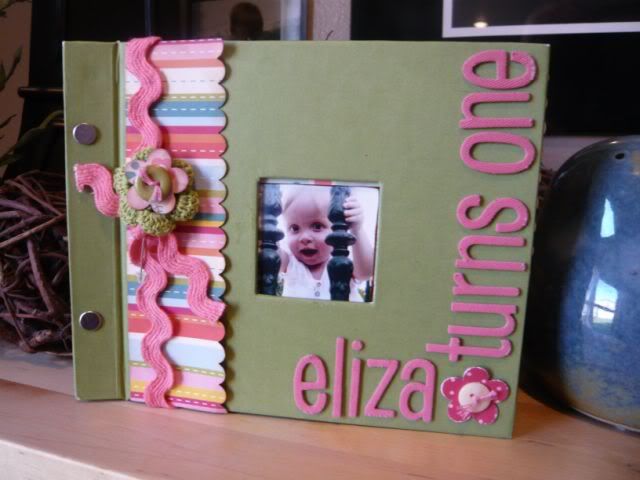
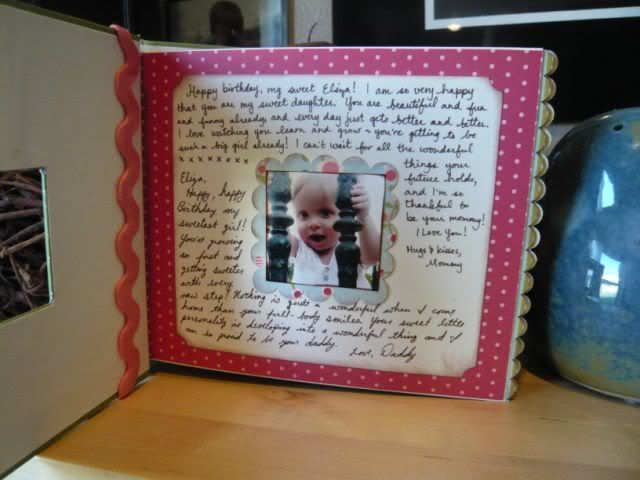
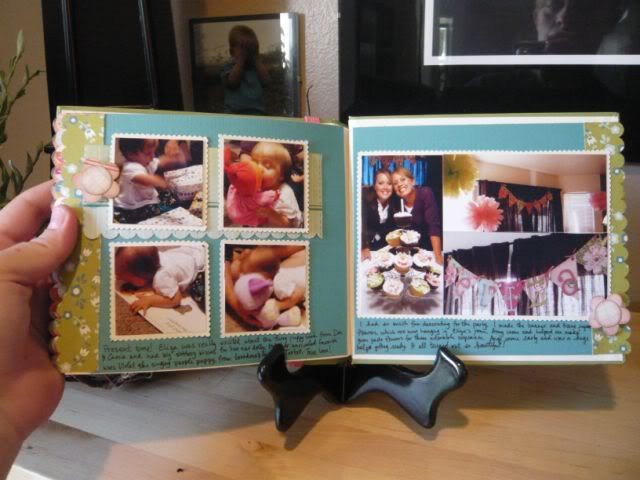
I started this little album before the party and had everyone who came write a little note to Eliza. Afterwards I put in some pages with the pictures from the party and some with the portraits I took for her birthday. I got the little green album from Target for $1! I used that same Cosmo Cricket paper, and I used my SU scallop edge punch to add a scalloped border to each of the pages. This started out being more functional that decorative, because the pages were 6 1/2" wide and I was being economical with my paper, but I love the effect.


Phew! Thanks for hanging in there through all these pictures! I had a ton of fun with all these projects. So fun to spoil my baby girl!

Monday, September 14, 2009

Cricut celebrates its 100th cartridge!

For all my Cricut buddies out there, make sure you get in on the celebration on the MB over at Cricut.com! They just released Winter Woodland, which is their 100th cartridge, and to celebrate they are giving away 100 cartridges. Check out this link for all the info -- you get two chances to win!

http://www.cricut.com/shopping/ProductDetails.aspx?id=361&s=1&sc=2

Good luck, y'all!

Tuesday, September 1, 2009

A sweet little birthday card...


Sorry I've been so slow on posting -- I've been spending the last couple of weeks getting ready for baby Eliza's first birthday! (Not to mention Sammy starting kindergarten, Dan turning 30, plus all the other things life throws at us...) I haven't gotten the pictures of all the stuff I did Eliza's party ready for posting yet, so I thought I'd post this little birthday card in the mean time. My sweet little niece Amelia also turned one a couple of weeks ago. She lives all the way in England (sadness!), but I actually had it together enough to send her a card and present in time fore her birthday (gasp!). For someone who loves to make cards, I am really awful about getting them off in time. And there's my confession of the day.

I used an Autumn Leaves pp and ribbon set for this card, and my Cuttlebug for the embossing. Cricut cuts: I cut the number with Alphalicious and the tag with TBBM, then the little ladybug with Walk in My Garden. First time I've used that cart in a long time, but I think now that I have so much little girl stuff to do I'll be digging it out more often. The flowers on the ladybug are a punch. The pin is from Fancy Pants. This card is a great example about how sometimes you just have to go with the flow -- I originally started out with a great sketch from 2 Sketches 4 You, but this darn card would not behave itself, and the finished product bears no resemblance to the original sketch. TFL!

Sunday, August 16, 2009

Blog Candy winner!

A big thanks to everyone who entered the drawing for my blog candy! I just used a random number picker to choose a winner, and it was poster #37 -- CJ! Thanks to everyone who made my blogiversary so much fun. I hope you'll all tune in to see more fun projects in the future. Thanks!

Tuesday, August 4, 2009

From blah to beautiful -- my entryway, before and after!

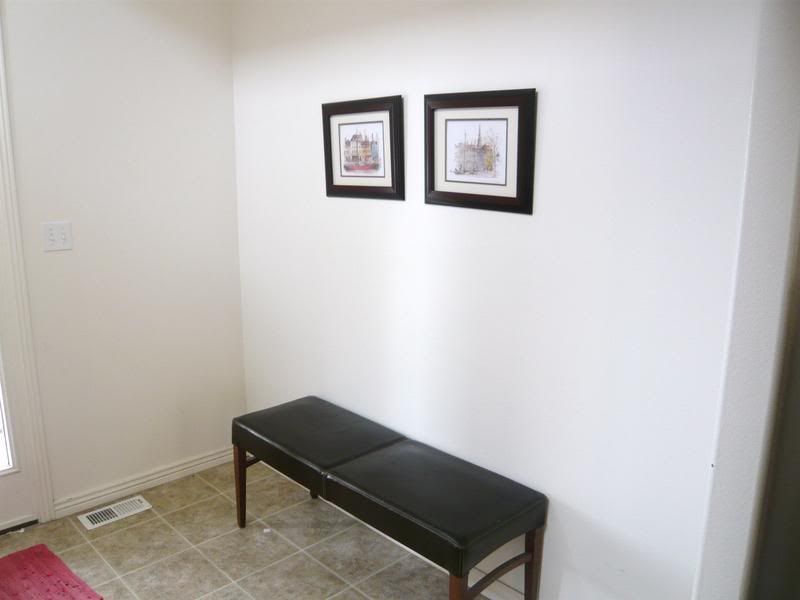
This summer I decided it was time to do something about my incredibly boring entry space. It was the same bland, boring, builder-white space we'd had since moving in 5 years ago, and I wanted something with some personality! However, I was on a very tight budget. So in May I started by looking for some furniture pieces that I could alter to fit the vision I had in mind, and bit by bit the design evolved into something I really love. Here's how we started out:


And here's the finished product!


I believe the color is called Midnight Drive from Kilz (yay, Walmart). I drew the branches onto the wall before we started painting, then painted around them (I don't recommend this strategy, by the way -- it was very tedious, but we didn't have any of the original paint color left for me to paint them on afterward). I painted the unfinished cupboards black, distressed them a little, and covered the magnet-board insets with this gorgeous paper from Crate Paper. I created magnets with my Cuttlebug and various dies so I could post a bunch of favorite family pics -- I love this, because they're so easy to change out whenever I'm in the mood for something new.

I used my Cricut (and my friend Carla's Expression) to cut the quote on the wall with vinyl (most of the text is from Jasmine, and the flourish and "home" are from Home Decor). I also created the vinyl phrase "grow" for the plain green plastic vase with the Home Decor cartridge and Design studio. My big experiment was cutting the butterfly applique with my Cricut -- the fabric is quite heavy and I found out later I wasn't using the recommended stabilizer, but it still cut fairly well and I was able to easily trim the parts that didn't cut all the way through. It was my first time attempting something so complicated (the quilt-square style of the front of the pillow with the inset applique, etc.), and I definitely have a lot of learning to do. The inset was SO crooked; it really looked awful. So with some of the scraps I sewed these fabric yo-yos to fix the worst of it. Ah, well, you gotta start somewhere! I learned to make the fabric yo-yos from the amazing Heather Bailey's blog. I also sewed the green pillow, but that was pretty straight forward.

I used more scraps from the pillows to create the big fabric flowers on the left-hand cabinet, and hot-glued them to leftover stems from some of the silk flowers I had used in the green vase. You can find a great tutorial on the big ranunculus here. The birdhouse on that cabinet was unfinished wood that I bought on clearance years ago and have just been waiting for the right time to finish it. I gave it a crackle finish and a little paper trim and fabric flower.

All the other accessories were really just gathered in from the far corners of my house. Those awesome wellies were a gift from my fab sister-in-law -- I never know how to wear them in real life because I'm such a chicken when it comes to fashion, but don't they look great here? The explosion box album on the right-hand cabinet is one I made as a make-and-take at the scrapbook expo a couple of years ago -- that was actually what inspired me to track down more of that paper to use for the rest of the projects because it fit the feel I wanted so perfectly. The wire chicken I bought at a garage sale for 25 cents.

I don't know if I would call this project completely finished -- I'm sure as I go along I'll find new lovely things to put in. I also love it because I can easily change the paper on the cabinet doors, whip up some new cushion covers, and I'll have a whole new room! So much fun.

I'd like to thank my hubby for his indulgence on this project, because I'm pretty sure this is not the style he'd choose if left to his own devices... Thanks for being so supportive, baby!

Friday, July 31, 2009

It's my Blogiversary -- time for blog candy!

Wow, I just realized that July marks my two-year "blogiversary," so I thought before the month is over I'd better do something to mark the occasion! Blogging -- both keeping up my own blog and hopping around to so many others -- has really become an important part of my life, and I'm so grateful for all the friends I've made because of it. I'm also coming up on 50,000 hits, so we've got all sorts of things to celebrate. So to create a fun-for-everyone type of party, I'm offering a pick-your-prize blog candy!

Option 1: Scrap goodies, of course! I've got a little prize pack together with some cute stamps, chipboard letters, and a whole slew of flowers and embellishments. Ooh, and a zig glue pen, which is a must have for gluing small bits.


Option 2: a $25 gift certificate to my etsy shop. If you're a Sure Cuts a Lot user, this is the prize for you! I have a ton of cute, completely original cut files perfect for use with your Cricut and SCAL. I also have some adorable fabric flower accessories and very unique wooden snowflake Christmas ornaments (those will be up by the end of August).


Option 3: If you're not a paper-crafter at all, I've included this option so you don't feel left out. With this option I'll send you 10 of my favorite handmade cards for your own personal card supply, or you can make your mom or grandma very happy by giving them as a gift. :)


All you have to do to enter this drawing is leave a comment telling me which prize you'd prefer, and if you have a blog, leave a link to where you've posted about the blog candy (you can also post to Facebook or Twitter). This blog candy offering will run for the next two weeks (until August 15th), and I'll pick a random commenter to win the prize! Thank you very much to all you wonderful friends in the blogosphere!

I (heart) vintage...


Well, I'm realizing I'm a total geek for vintage! I love all the vintage-with-a-modern-twist elements that are so fashionable right now. As I mentioned a couple weeks ago, I have totally fallen in love with vintage hot air balloons, so of course I had to design some cut files so I could cut some out with my Cricut! This is one of the fancier versions, and I love how it turned out. (I think if I had it to do over I would have made the balloon a little bigger on this card, but I found these scraps in my drawer and they were pleading with me to be used for this card, so I was a little restricted on size...) I used this week's sketch from 2 Sketches 4 You. The PP is from Chatterbox, and I used scallop scissors for the smaller rows in the middle and the SU scallop-edge punch for the borders top and bottom. I think a little stitching is always a perfect touch for a vintage look, as well. The sentiment stamp is also from SU. TFL!

P.S. If you're a SCAL fan, the files for my vintage hot air balloons are available in my etsy shop.