
I've been thinking about this layout for a long time. These are the last pictures I took of my little sister Carissa before she passed away, and I was struck by the butterfly picture in the background, and how well that fit with the lyrics to this beautiful song by Susannah Clifford Blachly. Here are those lyrics, in case you can't read them:
“Here's to you, little butterfly
You grew wings and learned to fly
You broke through to a clearer view
And a wide open sky
You taught me things I need to know
When to hold on tight, when to let go
How to trust that the darkest hour of the night
Holds the promise of the light
Now I know that some day you'll be leaving
To heed the call of distant lands
And though I'll be no stranger to grief
I'll still open up my hands
And watch you fly, little butterfly
Here's to you, little child of mine
You'll be all grown up in no time
So much to learn through the twists and turns of this life
You taught me things I need to see
How to love the world that's in front of me
How to feel what's true and to listen to what it means to be free”
And here's my journaling:
"These are the last pictures I took of Carissa before she passed away, during the brief time she had been moved out of the intermediate care unit and the boys could visit her. Originally when I was working with this photo I cropped out most of the background, but then I noticed the butterfly photo in the background, and I thought it was so fitting. Carissa spent mortality in a body that was in some ways so limiting, but her beautiful spirit always shone through. In her passing, that spirit emerged more beautiful and radiant than any earthly butterfly. I know that Carissa is free now from the limitations of her mortal life and shines as a jewel in our Heavenly Father’s kingdom."
It was also a perfect opportunity to try out a new idea I had for making butterflies. It's a take-off from the flower technique I posted a while back, and I really like the way it turned out. I thought someone out there might like instructions, so I did a little photo tutorial as I went along.
1. Cut your base shape -- I cut mine with the Cricut George cartridge. It's
, above the J. I cut it first on shadow with the cardstock and then regular with a light vellum. Adhere together as shown.

2. Sew a straight line from corner to corner as shown.

3. Trim out shape of wings (just like the flower petals from the previous technique). For butterflies, cut the top wings larger and rounder than the bottom. If they are the same, you'll get a shape more like a dragonfly.

4. Fold top layer away from bottom layer at stitched lines -- this gives it a really pretty dimensional element. I also used a mini-scallop scissor to add some detail to the wings on the larger butterflies, but it's too much of a pain to do it to the smaller ones.

5. Add a body. Mine is the dragonfly body from the Cricut Doodlecharms cartridge (hint: cut the body 1/2" smaller than your original shape -- ie, my largest butterfly was cut at 3", and the body was 2 1/2") Embellish as desired. I used thread to stitch glass beads onto the largest butterflies here, but on the card below I covered the whole body in Stickles.

Here is another card I made when I was trying out these butterflies. This card also uses last week's great sketch from 2 Sketches 4 You.

Supplies used:
(Layout)
Bazzill cardstock
Misc. vellum
Green Ice Stickles
(Card)
Kraft cardstock: Hobby Lobby
Patterned paper, ribbon: Fancy Pants
Stamp: Studio G
Mini-Scallop scissors, Threading Water (scallop) punch: Fiskars
Green Ice Stickles
Ink: Clearsnap Chalk Ink
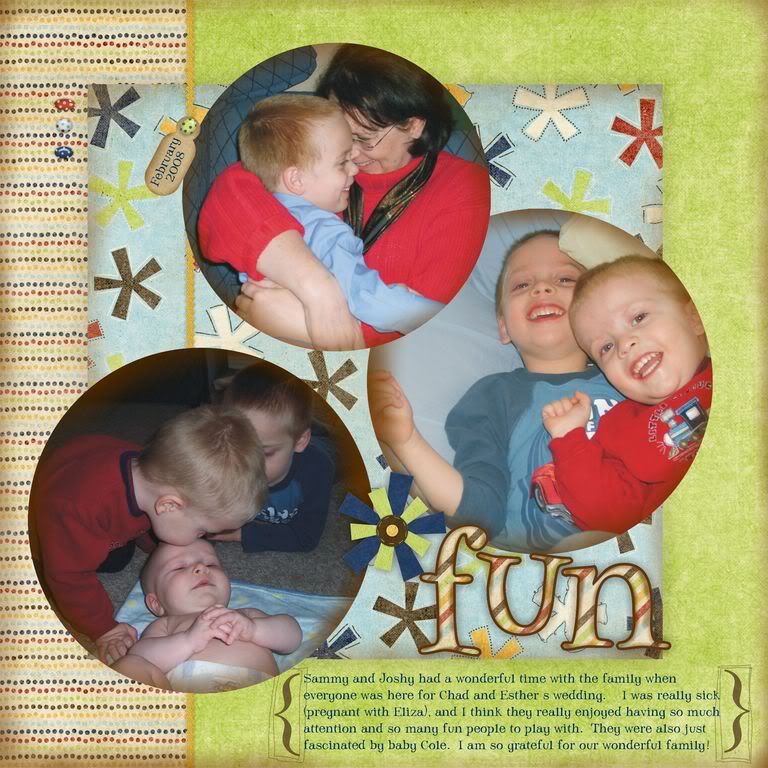
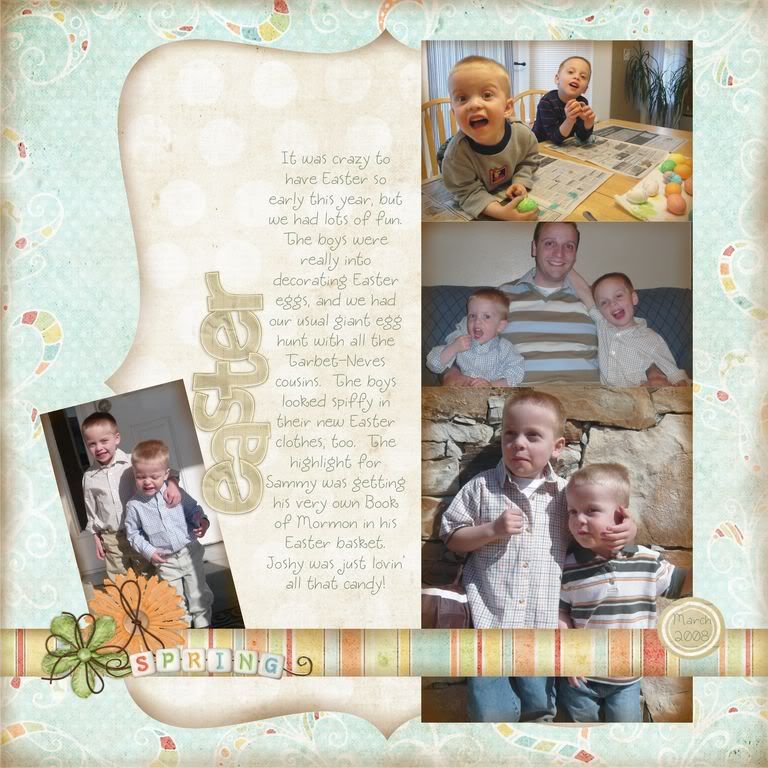
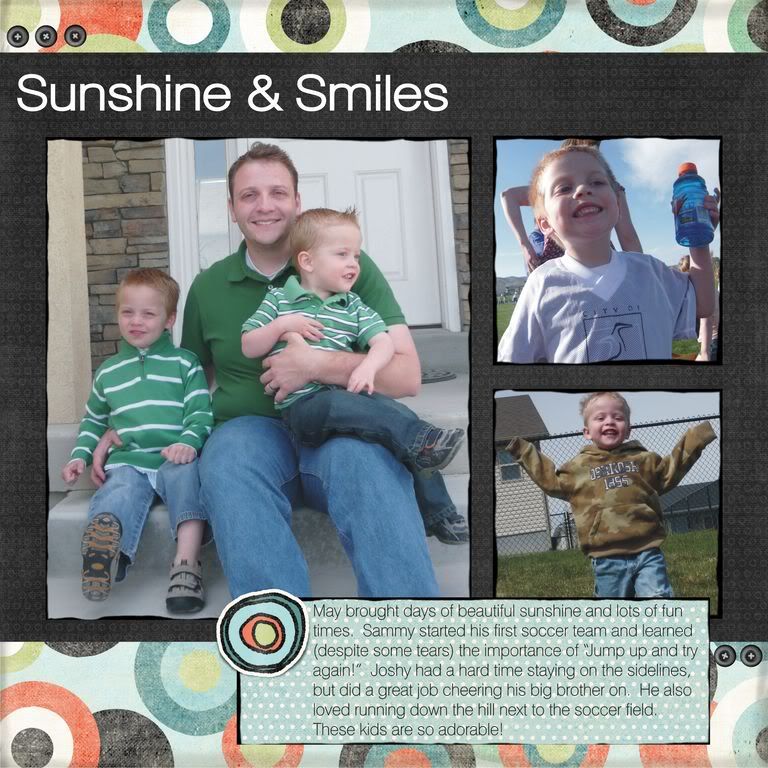
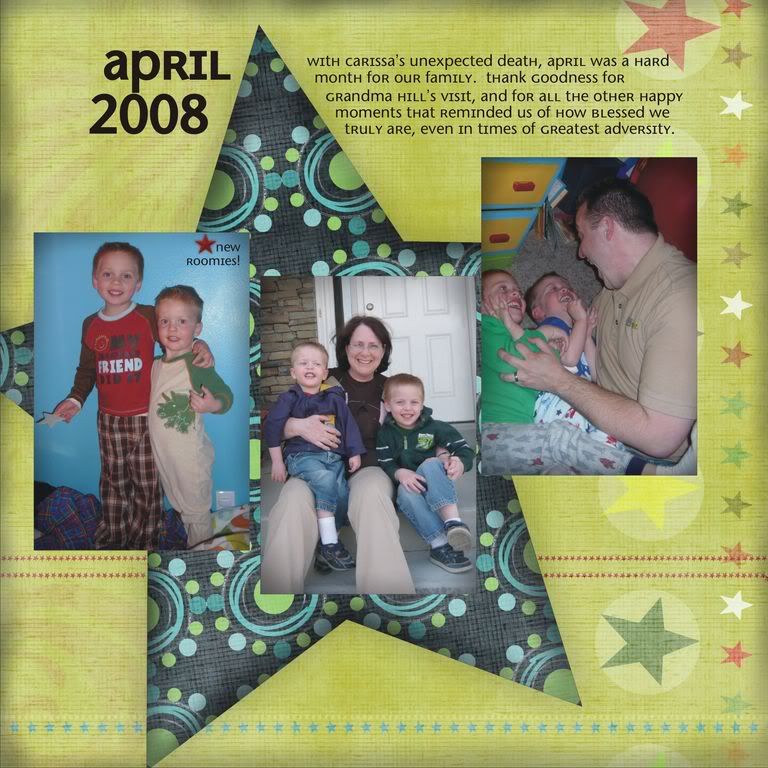
Another note -- I made this layout to go in the book of remembrance I made for my family after Carissa passed away. Here is a link to those layouts (posted on the Cricut MB), if you'd like to see them.


