I've been working on the plans for a big 50th birthday bash for my mom for months, and last night was the big night! I was so happy with how everything turned out (even though she wasn't really surprised after all...).
It all started with this adorable free digi-kit by Ronna Penner, which I downloaded from www.shabbyprincess.com. I used the flowers and paper from the kit to create this invitation. I drew the dress, balloons, and body parts on white paper with a thick marker, then scanned them in so I could work with them in my graphics program. I LOVED the result -- so much in fact, that I decided to base all the decorations for the party on the colors and feel of the kit!
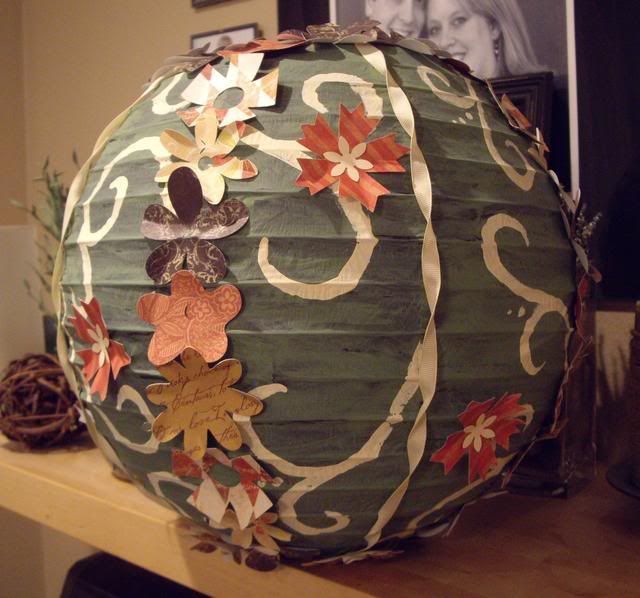
I made these centerpieces for all the tables using Bazzill cardstock that coordinated with the kit. I cut all the hats from the Cricut Celebrations cartridge. This was the first time I used this cartridge! I never thought I wanted it, but I couldn't resist when I found it for $25. I'm SO glad I gave in! I bought these little tin pails at WalMart and put floral foam in the bottom. I painted bamboo skewers white and added the hats to the top, then filled the pails with curled ribbon. Each centerpiece was sitting on an oversized flower that I printed from the digi-kit.

Here are a few more examples of the various centerpieces:

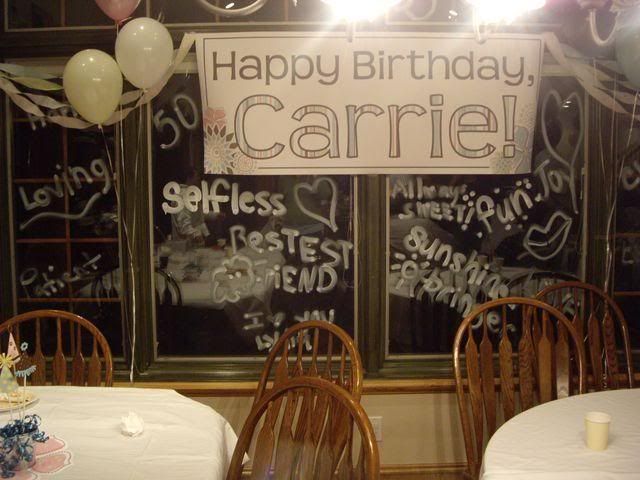
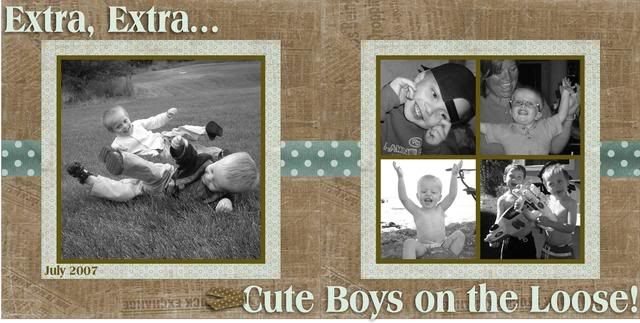
Here's one of my favorite parts of the decorations! I printed this 2' x 5' banner on my dad's large format printer using elements from the kit. Then I made use of my parents' huge windows and the darkness for a fun and meaningful idea -- I got one of those markers they use for writing on car windows and asked all the guests to write one word they thought described my mom. She totally loved it!
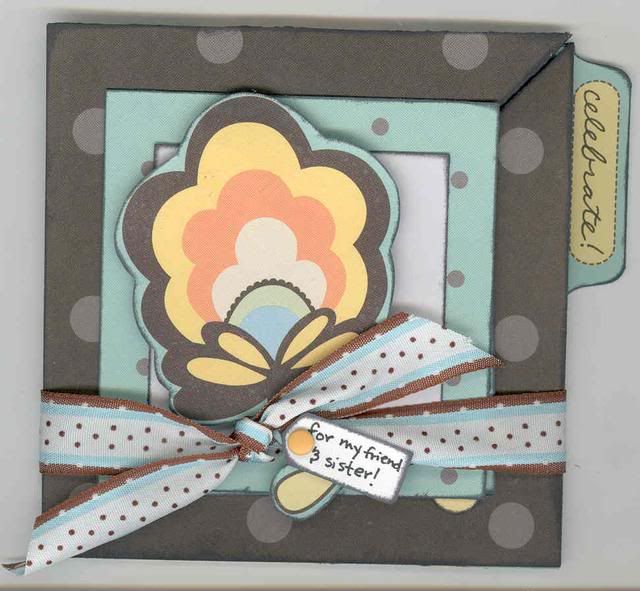
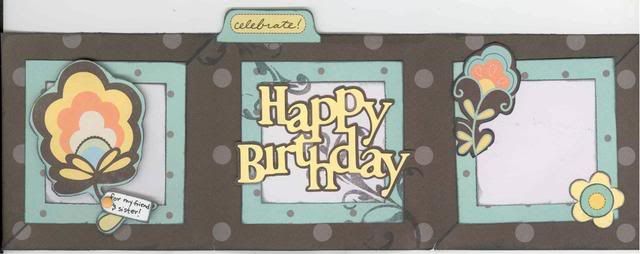
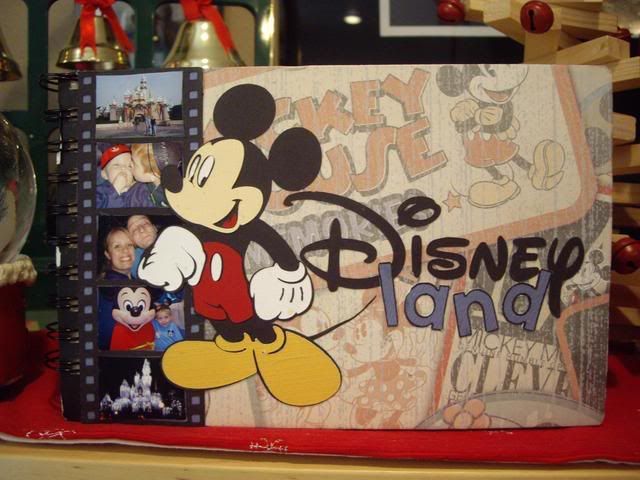
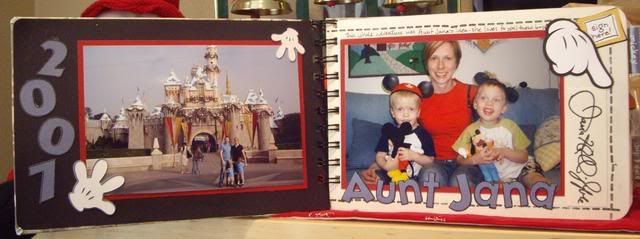
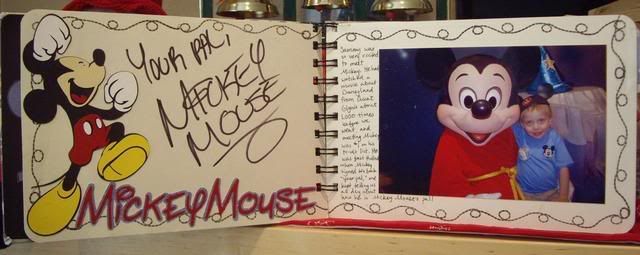
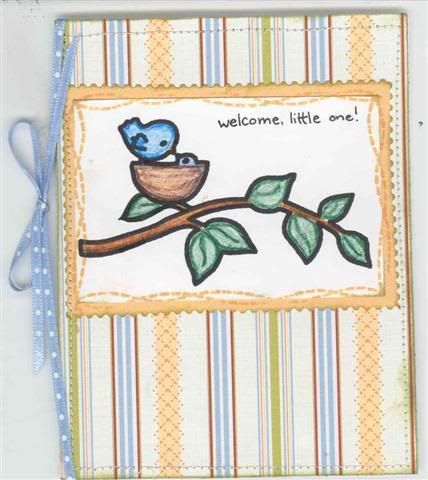
I used the base design of the invitation to make this guest book/album, bound with the Bind-it-all. All the guests signed it, and there is plenty of room for pictures. I printed the inside pages with a border and some of the flowers from the kit, so they are all ready to adhere the pics and do some journalling, and the album will be done!

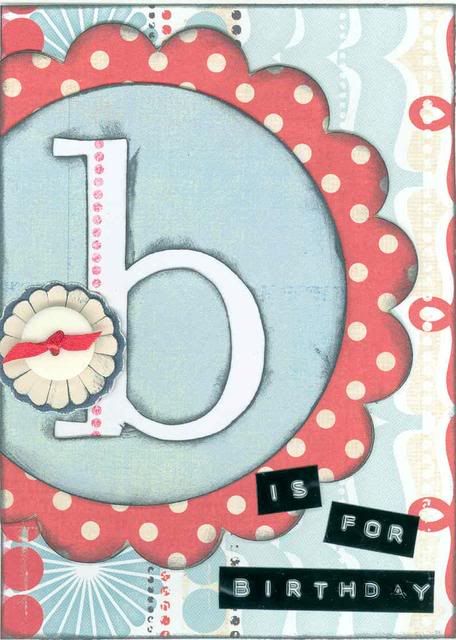
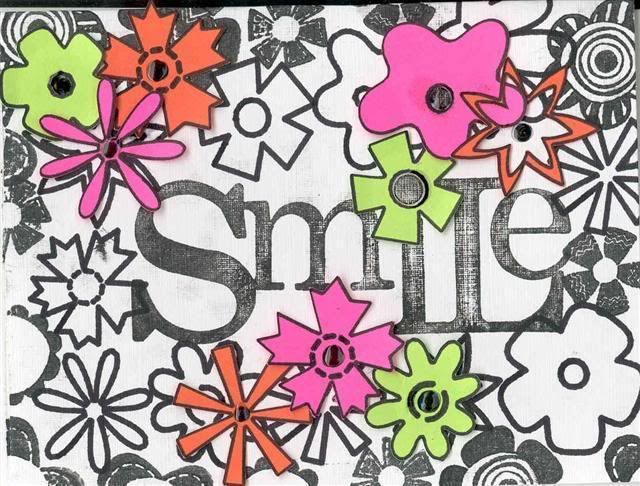
After the party was over, I grabbed my favorite out of all the party hats to make a card! I created the circle card with the window using Cricut Design Studio by making two 5" circles, welding them together, then adding a 3" circle to the middle of one of the big circles. I then cut the yellow scallop (which is the edge of the card -- the brown in the background is just so you can see the yellow better) with Mini Monograms and adhered the circle card to it. I added a 4" white circle to the inside for writing. I adhered the hat to the front, added the doodle outlines with a white gel pen, and wrote "happy birthday" on the band. I love it!

Phew! I have to admit I'm exhausted, but I love how it all turned out! And the best part of all is that it made my mom feel so happy and loved, and that was the whole point!

.jpg)
.jpg)